I have a wonderful friend who gave me a tin with aBoba Fett shirt, Force Unleashed Hoodie, Darth Vader Bowtie and a Wookie reusable bag. All I could ever want for my Birthday/Xmas. So how do you reward such a generous spirit. Well by making her a Lap Quilt. I pulled out all my Force Unleashed fabrics and am in the planning stages. I’ll keep you all updated on my progress.
Month: January 2016
New Kimono Bolts in from Japan
Well my new shipment of Kimono Bolts just arrived from Japan. I just love them.
I think this is a woven rayon, I won’t know unless I do a burn test. It was the most expensive but I really liked the modern pattern so I splurged.
Dragon flies in Chirimon crepe, who could resist? Chirimen crepe fabric is one of Japanese traditional fabric for making Kimono. The fabric has its unique features, it drapes beautifully and hardly creases.
This woven with resist pattern has a few moth holes, but I’m a scrap quilter so I can always cut around. It was a steal even with the holes.
And last but not least another Yukata bolt to add to the others. I needed more Indigo on white, really I did.
Japan has such a beautiful fabric tradition and it is an honor to aquire some of it. Now what to make?
New from Japan
I absolutely love all things Japanese. So over the years I have acquired a few Kimono bolts. Today I received another bolt used for Juban Kimono. It has a beautiful bias pattern of little storks.
If you have no idea what a Juban is, it is the lightweight under Kimono. Kimono bolts are 14″ by 14′. Much smaller than western yardage. A Man’s Juban is typically deep rich earthy colors and woman’s are usually pinks and bright reds. They come in small prints, and I adore the Maple leaves and Sakura blossoms. I use them for a myriad of things, but I plan to use some for quilting. Let’s see where this adventure takes me.
New Fabric finds and notions
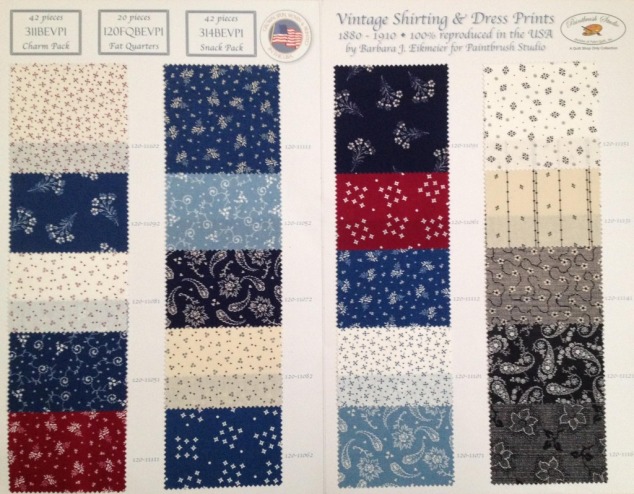
As every quilter, I am always adding to my Stash. I also can’t turn down a deal. So I was overjoyed to win two 6 yd pieces of Vintage Shirtings and dress prints by Barbara J. Eikmeier.
I was looking for for 120-11141
But am more than happy to add the other two to the stash.
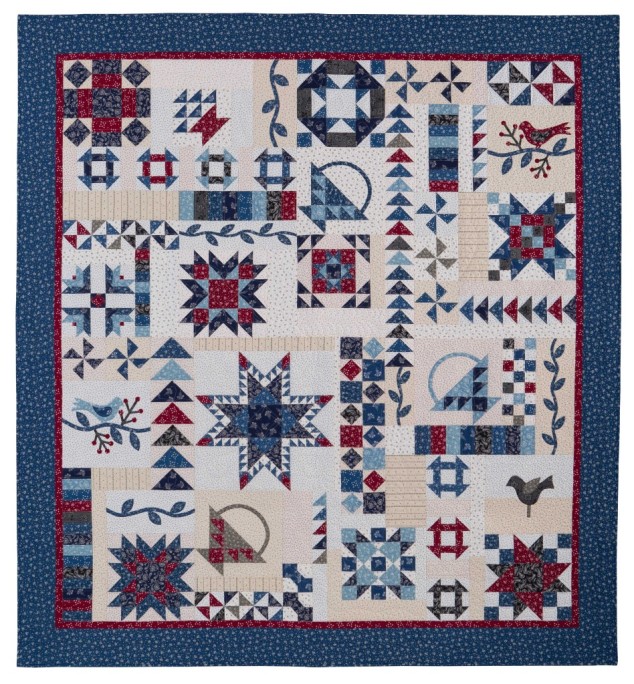
As a side note she has come up with a wondeful BOM and when completed it finishes this..
The BOM is also the reason I can’t find the fabric I was looking for, but I can understand.
As for my other stash adds. I got a new set of blades, so needed. I was cutting my mat more than the fabric.Next I finally got pieces on the 2001 Harry Potter prints. There was no way I was going to pay $25-$50 for a FQ on Ebay. So like all things patience is a virtue. And eventually I found a reasonable seller.
And Lastly I got my daily dose of Remants…
All Ruler folded and ready to be put away. Till next time, Have fun Stormin’ tge Castle.
The Force (Star Wars) Quilt
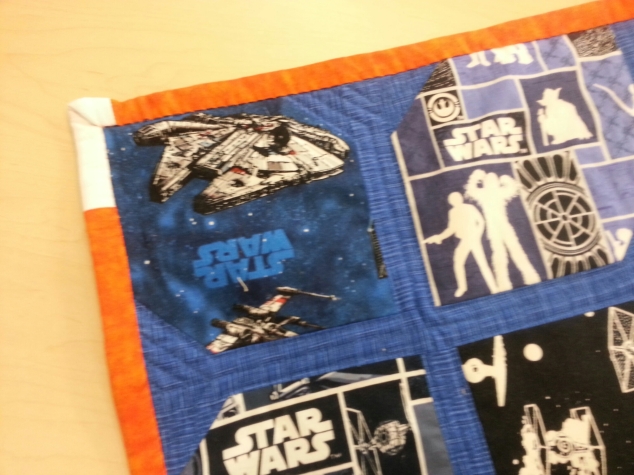
I decided I needed a small Star Wars quilt. I had all the Fabric but needed a pattern. Where was inspiration going to come from. Then like a bolt of lightning I was struck by a book at Quilter’s Paradise.
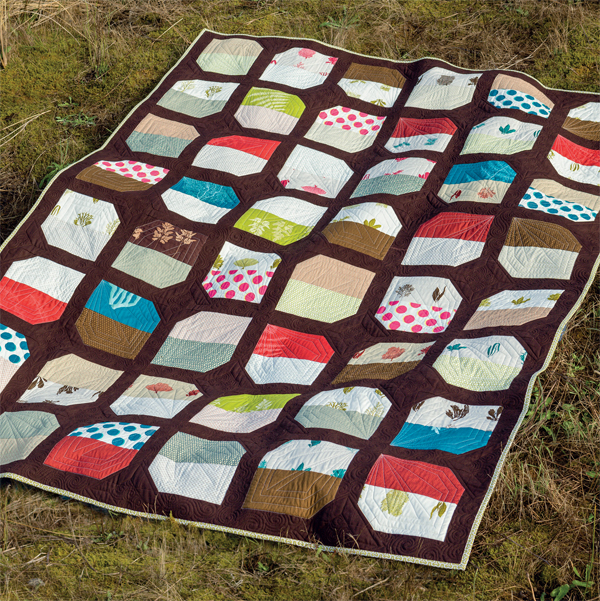
It was Quilt Dad’s Beyond Neutral. I buy very few books, as the internet/pinterest has so many ideas. But I had to have this. It is now one of my favorites. Such simple patterns that look complicated when finished. For this project I used the Half moon bay pattern.
This pattern is so versatile. I have thought of many other projects yet to be started with this. But it was perfect to showcase my Star Wars Fabrics.
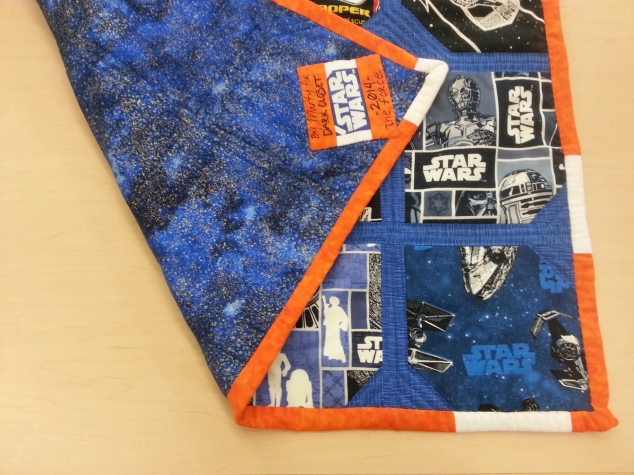
I Fussy cut a few squares and let the others land where they may. The sashing and tips were a blue crosshatch. Then I straight line quilted it.
The binding I used both an orange tonal and white Kona and stitched the Kona in straight lines so that both gave the feel of the Rebel Uniform. The backing was a blue tonal with Gold. And I fussy cut another Star Wars for the label.
Dia de los Muertos “Day of the Dead” Wall Quilt
Day of the Dead or Dia de los Muertos is one of my favorite holidays. I remember my class trip in around 3rd grade to our Met museum to visit the “Day of the Dead” exhibit. It was so magically colourful that I fell in love. Both with the culture and the holiday.
My first quilt projects were Day of the Dead inspired and a good quarter of my Stash is various Skull/Frida Prints.
So here is one of my Favorites
I started with a Disappearing four patch. I cut it twice and the sashed in white muslin to create the center.
I then sashed wider around the center added in the side pieces and then added in pieces for the top and bottom and squared it up before sashing in red Kona. I quilted it with a Jean topstitch thread in red. And bound it with a black swirling fabric. Backing was a folk print and labeled it.
Hand stitched blanket stitch for the label created that folk art feel. And I was again in love.
Fancy Fox by Elizabeth Hartman
Ok I know, this is a very popular block. And rightly so Elizabeth Hartman has done an excellent job creating some very cute and addicting quilt blocks. I wanted to try them out so I created my first to test it
But I didn’t want to create a whole quilt just yet. So the choices were either throw the block into a box for later use. Create a mug rug (strongly debated). Or create a small wall hanging. Wall hanging won out.
Sorry I don’t live in the most beautiful area. So a picture of my alley way was the best I could do at the time.
Little Monsters in Bow Ties Baby Quilt
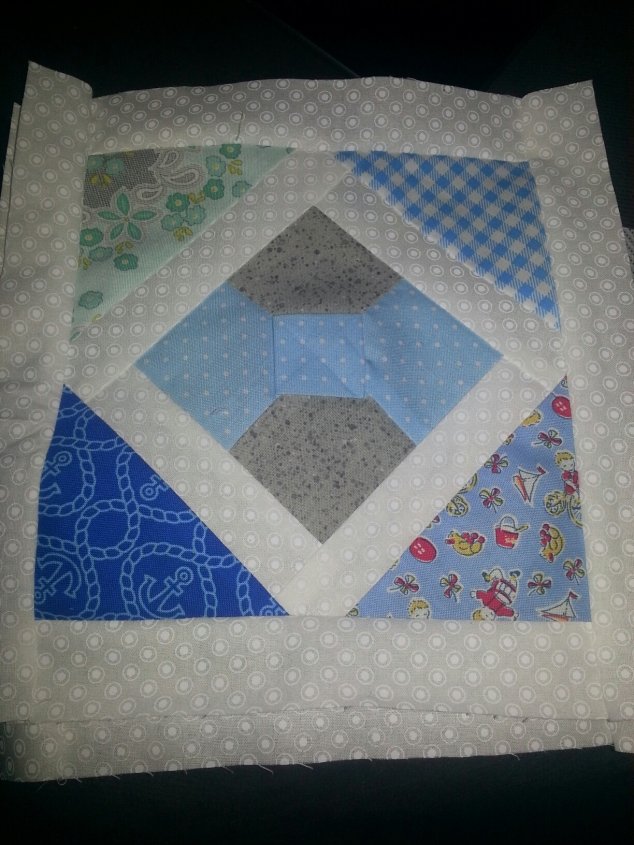
I wanted to do something for my co-worker who was expecting a bouncing baby boy. And I wanted to try the 3D bow tie pattern by the Gourmet Quilter.
So I watched her video and using scrapes I bought at Quilter’s Paradise I created these.
I wanted to create a rainbow quilt. So each block was created in a specific color and sashed with a tone on tone white with dots. I righted the blocks so that the Bowties looked as though they were being worn.
I then used my EZ dresden ruler to cut 3 1/2″ rainbow pieces that went around the quilt and in the center.
I also created 3D pinwheels and 3D wave blocks. But as I was assembling the top I figured I was over zealous and my math was off. For it would have turned out to be full sized instead of a baby quilt. So into a box those blocks have gone, to be used later on.
I then cut blocks from David Textiles “Where the Wild Things Are” prints and various Little Monsters prints to finish the top. I bound it with a Riley Blake Candy stripe and backed it with the cutest monsters with Bowties print in Baby Blue.
She loved it but won’t let the Baby touch it as he is still in the pukey phase.
Poppin Purple 3 Dudes Quilt
I just recently finished a lap quilt for a co-worker. She was creating a very beautiful bow-tie for me so I wanted do do something for her. I knew I wanted to use the 3 Dudes Quilt pattern
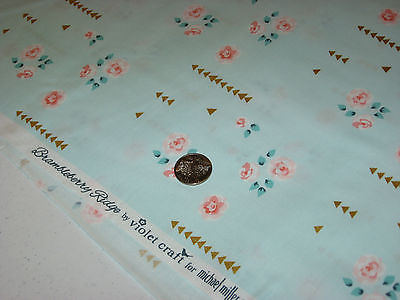
Now it was time for the fabric. At first I ordered MICHAEL MILLER’s Brambleberry Ridge ROSEMILK by Violet Craft
I thought it was beautiful. My co-worker was of a differing opinion. So it was back to the drawing board.
Next I thought about her spending time in Yosemite with family and friends. She relishes this every year. So I ordered Quilting Treasures “Whitetail Ridge” MOUNTAINS, BRANCHES, and FORREST.
http://www.quiltingtreasures.com/shop/category/new-fabrics-b2c/remington-whitetail-ridge-1/?page=1
But after ordering and talking to her again I wasn’t feeling the project. She gave me an artisan yarn website she liked and the color purple. So I decided to take a trip to a Quilt Shop I love. Quilter’s Paradise is a dream…
http://www.quilters-paradise.com/
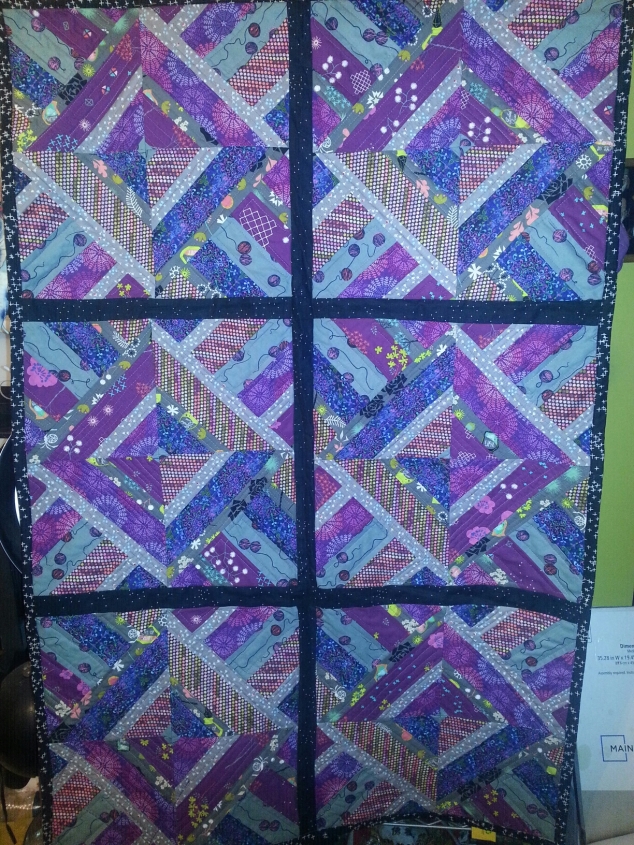
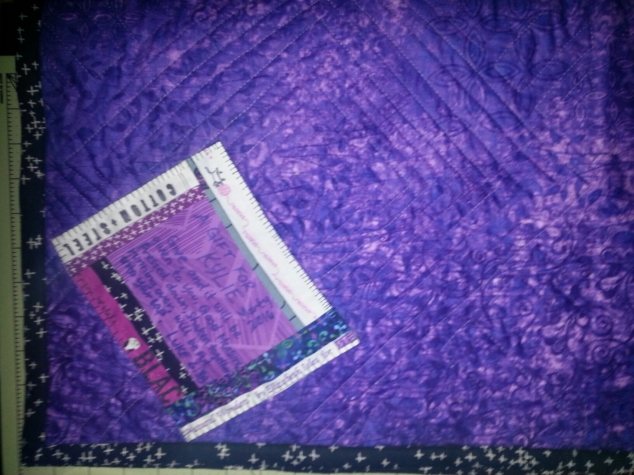
I walked around and looked at everything. Talked to the girls, and through trial and error I decided on mostly Cotton + Steel with a few others mixed in. So here is my finished project, before Binding. Sashing was added in last minute. I decided it needed sashing after laying out the squares.
Next I bound and Labeled it ready for gifting.
I hope this helps and inspires you.
St. Patrick’s Dublin Pride Wall Quilt
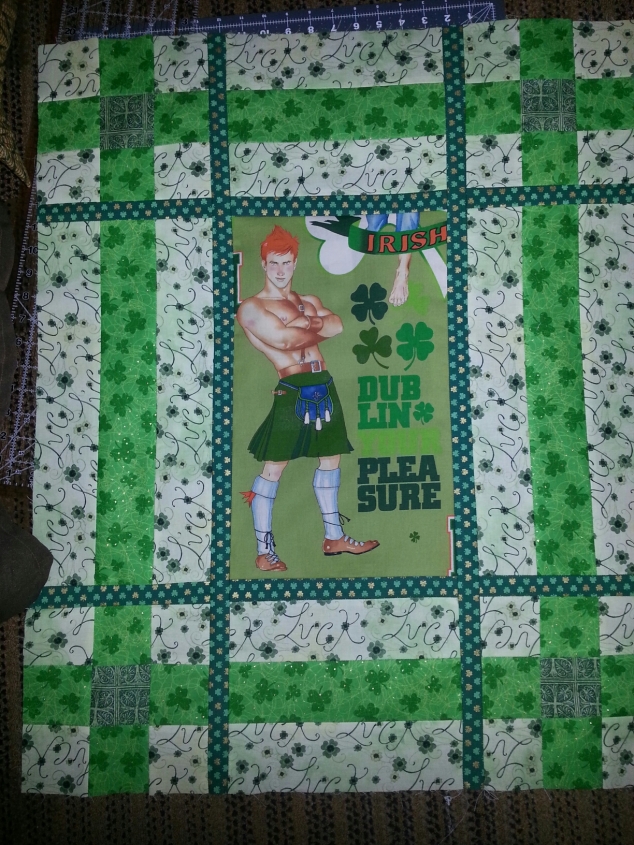
This was I simple and fun St. Patrick’s day wall quilt that I created to ruffle the skirts of the uptight ladies in the Dublin, Ca. area. They were so close to San Francisco and yet so far away.
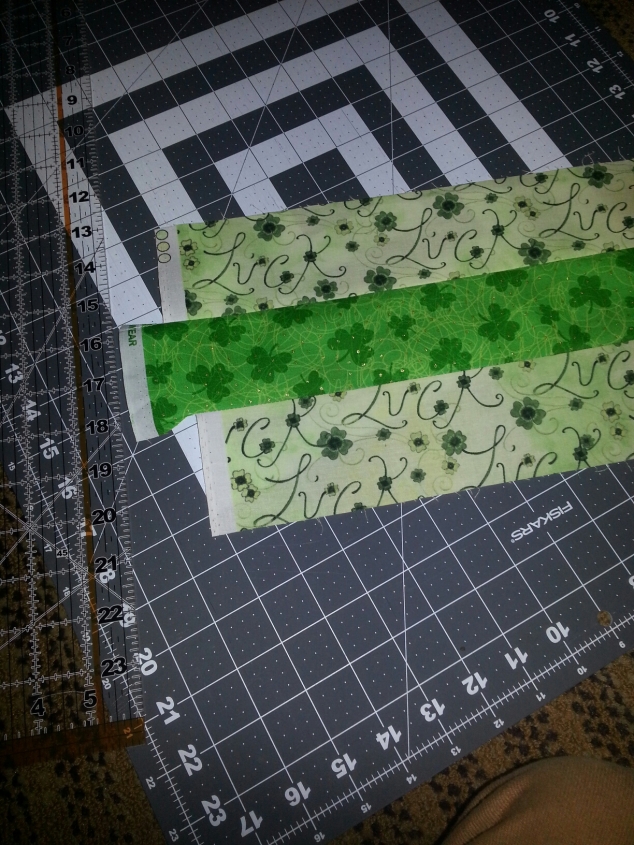
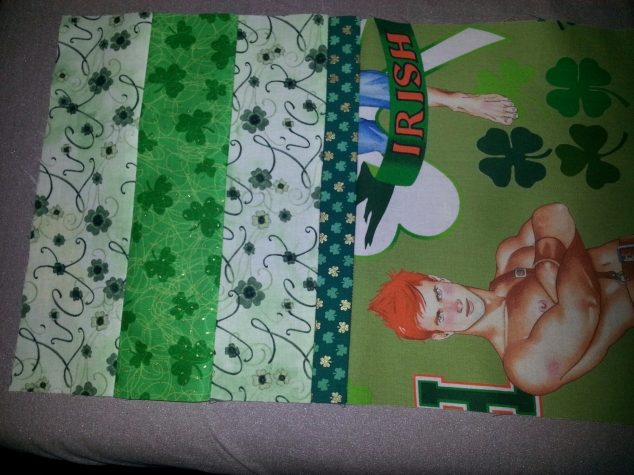
The used an Alexander Henry “Feeling Lucky” hunk print for the center panel. And a Irish chain pattern for the corners.
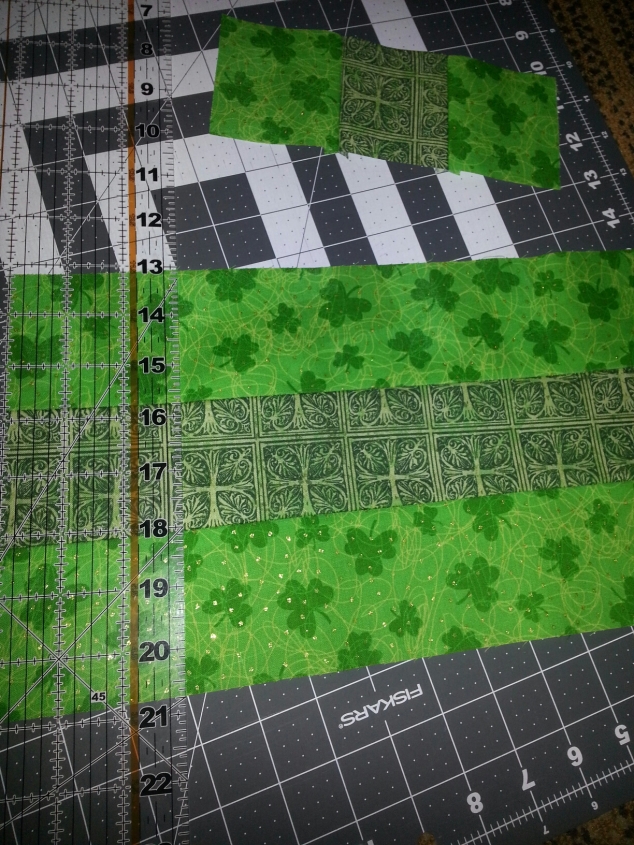
First cut out your panel. This will be your main focus. As this is a repeating print there will be things in the print that we will not want in the final quilt, i.e. the random foot in the right corner. We will take care of that foot at the end.
Next cut your strips for the Irish chain corners and for the borders. I cut strips of 3″ each. I cut 4 light green, 4 kelly green, and 1 dark green (used to create the center of the chain).
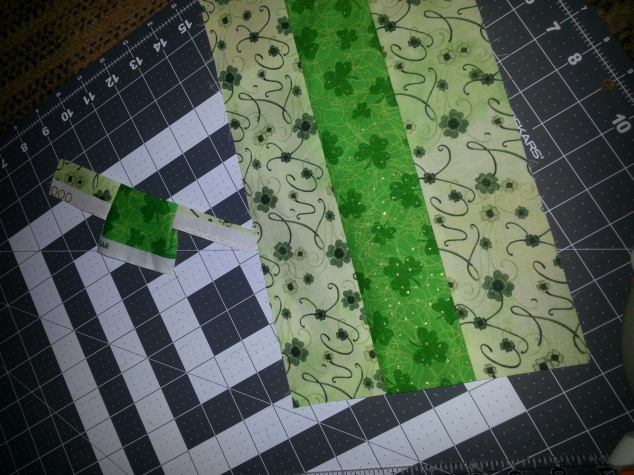
Next sew your strips together with a 1/4″ seam. Create two light/kelly/light and one kelly/dark/kelly. Once you pieces are created Iron them. I use Mary Ellen’s Best Press to Starch and size. And I iron to the Dark Side.
Now even out the strips by cutting off the ends.
Next cut we are going to create the Chained corners. I cut 8 3″ pieces of light/kelly/light and 4 kelly/dark/kelly.
Sew and iron. You should now have the four corners complete.
Next cut 2″ strips for the sashing. I cut 4.
Now we asemble the top. My panel was 12″ x 18″ So I needed 2 light/kelly/light pieces of 12″ and two of 18″. Create the center by sewing the strip piece to the sashing and sashing to the panel. And repeat for the bottom.
Now do the same for the side pieces. This one will be chain to sashing to 18″ strip piece. Then iron all pieces.
Now sew the sides with sashing between side and panel. And then Iron.
Next we layer and baste. Lay down your backing fabric wrong side up. On that lay down your batting. I use “Warm and Natural”. I find it workes the best for me. On top of the batting lay down your top. Make sure the top is 2″ in and cut around leaving 2″ extra between the top and batting/backing on all four sides. Now to baste I use 505 temporary adhesive. I pull back the top and batting half way and spray the backing the lay the batting/top back and smooth it out. Then I repeat for the bottom half. Next I do the same for the top. I pull it away from the batting halfway and spray. Then I lay it back and smooth it out and repeat for the bottom half.
Now quilt the patterns you want. I stitched in the ditch around the panel and straight lined in a criss cross pattern for the rest. Once quilting was done. I squared it up. Cutting away the 2″ around the sides. Remember tgat sometimes you will have some of the batting showing when you square it up. Don’t worry it will be covered by bias tape.
Once squared up sew on your binding and then label. If your creating a wall display like I did create a way to hang it before you bind. There are several ways you can do this. Last but not least, remember that random foot? I covered it with ribbon and a few well placed felt shamrock buttons.
I hope this inspires you to create something new and wonderful!!






![00_COVER_B1270_BeyondNeutral_thumb[2].jpeg image](https://quiltingonmars.wordpress.com/wp-content/uploads/2016/01/00_cover_b1270_beyondneutral_thumb2.jpeg?w=634)
